Last updated on March 29th, 2026 at 01:13 pm
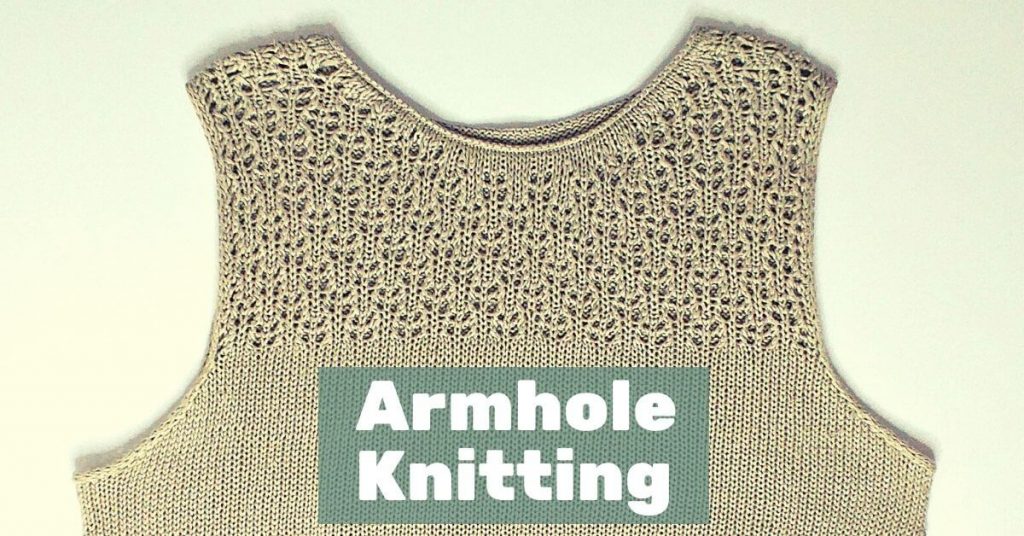
Are you knitting your first sweater with set-in sleeves? Understanding armhole (armscye) knitting and knowing exactly how to measure armholes are the secrets to a professional-looking garment.
This tutorial breaks down the process with easy math, clear illustrations, and a real-world example. While there are many ways to shape an armhole, this guide focuses on the classic set-in sleeve armhole for a tailored fit.
Pro Tip: If you want to master the full garment, check out my companion tutorial on [how to knit a perfect set-in sleeve cap].
How to Measure Armholes in Knitting
Armhole depth – measure in a straight line at the point where sleeve joins body at the shoulder to where the sleeve meets the body at the underarm.

The Standard Armhole Formula
To calculate your armhole length based on your body measurements, use this simple formula:
Metric: Armhole (cm) = (Bust / 6) + 3.5 to 6 cm
Imperial: Armhole (in) = (Bust / 6) + 1.37 to 2.36 in
Ease: Adding 3.5–6 cm of ease for a comfortable underarm. Use a smaller number for a tight fit and a larger number for a relaxed fit.
Standard Armhole Size Reference Table
If you don’t have your measurements handy, use this table as a general guide:
| Size | Armhole | |||
|---|---|---|---|---|
| International | USA | Formula | Cm | Inches |
| S | 10 | 14.6+6 | 20.6 | 8.11 |
| M | 12 | 15.3+6 | 21.5 | 8.46 |
| M | 14 | 16+5.5 | 21.5 | 8.46 |
| L | 16 | 16.6+5.5 | 22.1 | 8.70 |
| XL | 18 | 17.3+5 | 22.3 | 8.77 |
| XL | 20 | 18+5 | 23 | 9.05 |
| XXL | 22 | 18.6+4.5 | 23.1 | 9.09 |
| XXXL | 24 | 19+4.5 | 23.5 | 9.25 |
| From here armhole doesn’t change in size | 26 | 20+4 | 24 | 9.45 |
| 28 | 20.6+3.5 | 24.1 | 9.49 | |
How Many Stitches to Decrease for Armholes?
Before you start knitting, you need to calculate the width of the armhole (the number of stitches to reduce from the body).
The Standard Width: Usually, armhole width is 4–6 cm. For sizes XS–S, aim for 4 cm. For M–XL, aim for 5–6 cm.
The Favorite Garment Method: Measure the armhole width on a sweater you already own that fits perfectly.
Calculating the Decrease Steps
Once you know your target width (e.g., 5 cm) and your knitting gauge (always swatch to confirm your vertical and horizontal gauge before calculating decreases), follow this 3-block system:
Example: You need to reduce 10 stitches (5 cm) on each side. Divide the 10 stitches into 3 parts. If the number isn’t divisible by 3, add the remainder to Part I.
Part I (The Curve): Bind off 4 stitches in one go.
Part II (The Transition): Decrease 1 stitch every 2nd row (every Right Side row) 3 times.
Part III (The Taper): Decrease 1sts every 4th row 3 times.


Step-by-Step Armhole Shaping (Example: 10 Stitches)
Note: To keep the shaping symmetrical, work decreases at the start of both Right Side and Wrong Side rows.
Rows 1-2: Bind off 4 stitches at the start of each row.
Rows 3-8: Decrease 1 stitch at the start of every row (3 times on each side).
Rows 9-20: Decrease 1 stitch at the start of every other Knit/Purl row (3 times on each side).

Why the Shoulder Point Matters
In classic set-in construction, the shoulder point should align with your actual shoulder joint. If the armhole is too long or too short, the sleeve will pull or sag, ruining the silhouette.

Knitting Armholes in the Round
When knitting a seamless sweater, you still must split your work at the underarm. You will then work the front and back separately, knitting flat.
How to Avoid “Steps” in Your Decreases
To get a perfectly smooth edge: When you are knitting to the end of the row, do not knit (purl) the last stitch. Turn your work and the last stitch becomes first one, slip the next stitch and pass first stitch over (psso).

How to bind off more than 15 stitches for armscye?
Previous example is perfect for reducing up to 15 stitches.
If you are working on a plus-size garment or using fine yarn, divide your stitches into 4 groups:
Example: 25 stitches.
Divide into 4 parts: 7 – 6 – 6 – 6. (remainder is added to the first part)
Part I. Bind of the first 7 stitches.
Part II. Divide into groups of 3 stitches. Reduce by 3 stitches every 2nd row.
Part III. Divide into groups of 2 stitches. Reduce by 2 stitches every 2nd row.
Part IV. Divide into 1. Reduce by 1 every 4th row.

Frequently Asked Questions about Armhole Knitting
The standard depth is typically 21.5 cm (8.5 inches), but it is best calculated using the formula: (Bust / 6) + 5 cm.
No, for set-in sleeves, you must “split” the work at the underarm and knit the front and back pieces flat to create the armhole openings.
Multiply your target armhole width (usually 4–6 cm) by your horizontal stitch gauge. Divide this number into three parts for a smooth curve.
Conclusion
Perfecting the armhole doesn’t require expert-level math—just a clear plan. Once you master this stockinette version, you’ll be able to apply these proportions to cables, lace, or any complex pattern.
Do not forget to look at the knitting sleeve cap tutorial.
You may like:
