
Last updated on July 6th, 2024 at 12:37 pm
Crochet hair scrunchie pattern is a nice, easy project that only takes 1 to 2 hours to complete.
Easy to crochet using just basic stitches. Great for ponytail, as bracelets or decoration for bags or clothes.
You need to master only basic crochet stitches: chain, slip stitch, single crochet and half double crochet.
This knit-like look we achieve by using camel stitch.
How to Crochet Scrunchie
Use this crochet scrunchie pattern to make a a few different scrunchies that are charming and practical.
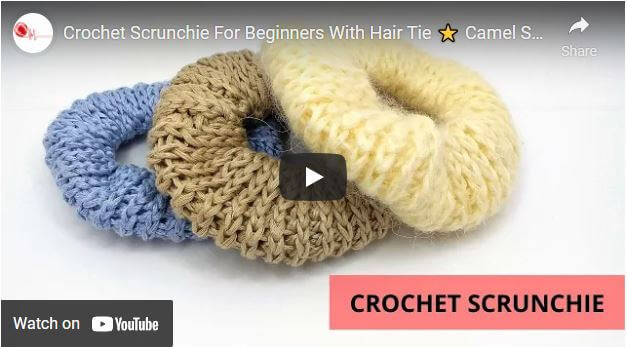
I used 3 different yarns: 100% silk (blue scrunchie), 100% linen (beige) and mohair wool (creamy), but same crochet hook size.
Basically, you can use any yarn leftovers. By reading this tutorial, you will understand the basic principle of making simple crochet scrunchie.
You should not have any issues at all to adjust a pattern.
Use a crochet hook that is a few sizes bigger than recommended on the label on your yarn.
Such a combination will create a looser fabric that will stretch better.
Before you learn how to make crochet scrunchie, you will need:
- Yarn. You can use any yarn, but I suggest cotton (or blends), bamboo, linen, which you can wash frequently and scrunchie will not shrink.
- Crochet hook. I used 4mm (G-6) crochet hook. Adjust hook size to the yarn weight.
- Hair tie.
- Darning needle to weave in ends.
Abbreviations US/UK Terms.
- Ch/Ch – chain
- sl st/sl st – slip stitch
- sc/dc – single crochet/double crochet
- hdc/htr – half double crochet/half treble crochet
Written Pattern
- G-6 crochet hook (4mm), chain 15. Being careful not to twist, place the chain around a hair tie, and join with a slip stitch to form the beginning of a tube.

2. Continue with 15 hdc in the 1st row.


4. Working in spiral rows, make as many rows of half double as possible to fit in a hair tie. In the beginning, it will look odd, but once you make more rows, the pattern will show up.
5. Using crochet hook, join both ends of the tube.Before joining, flatten the scrunchie, make sure everything aligns properly and is not twisted. Find opposite stitch, insert the crochet hook, yarn over, pull through all stitches. Cut yarn. Weave in the ends.
Watch the video below if you want to see joining ends in action!

YouTube Crochet Scrunchie Tutorial
The video tutorial will get you through step-by-step instructions for simple scrunchies, and I have a few more tricks to show you.
For example, how to make lace yarn thicker without pulling strands from different balls. Watch the video!
Crochet Scrunchie Pattern pdf
If you are a beginner and need extra help, download crochet scrunchie pattern pdf. You will get even more detailed step-by-step picture instructions.
By the way, you will definitely like other crochet tutorials:
Conclusion
It is time to crochet hair scrunchies by yourself. You have all important information in this tutorial. It is not possible to miss this project.
Now you have step-by-step instructions, pictures and video tutorial. You can get a free pdf format with written instructions and pictures. I believe you will manage easily while making your own crochet hair scrunchie.