Last updated on June 28th, 2026 at 09:40 am
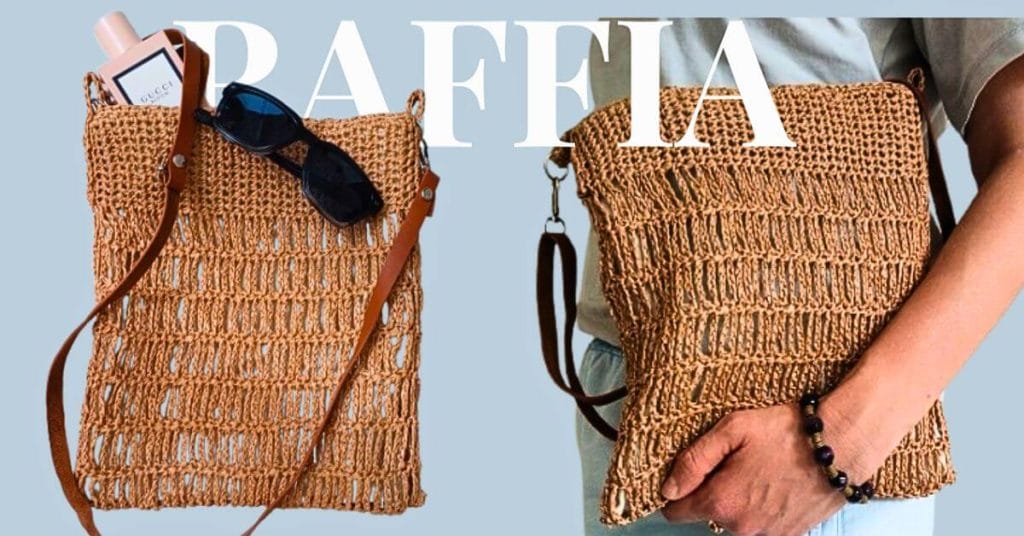
I needed a new bag for summer-something light, simple, and different from what you find in stores. So I picked up some raffia and started crocheting.
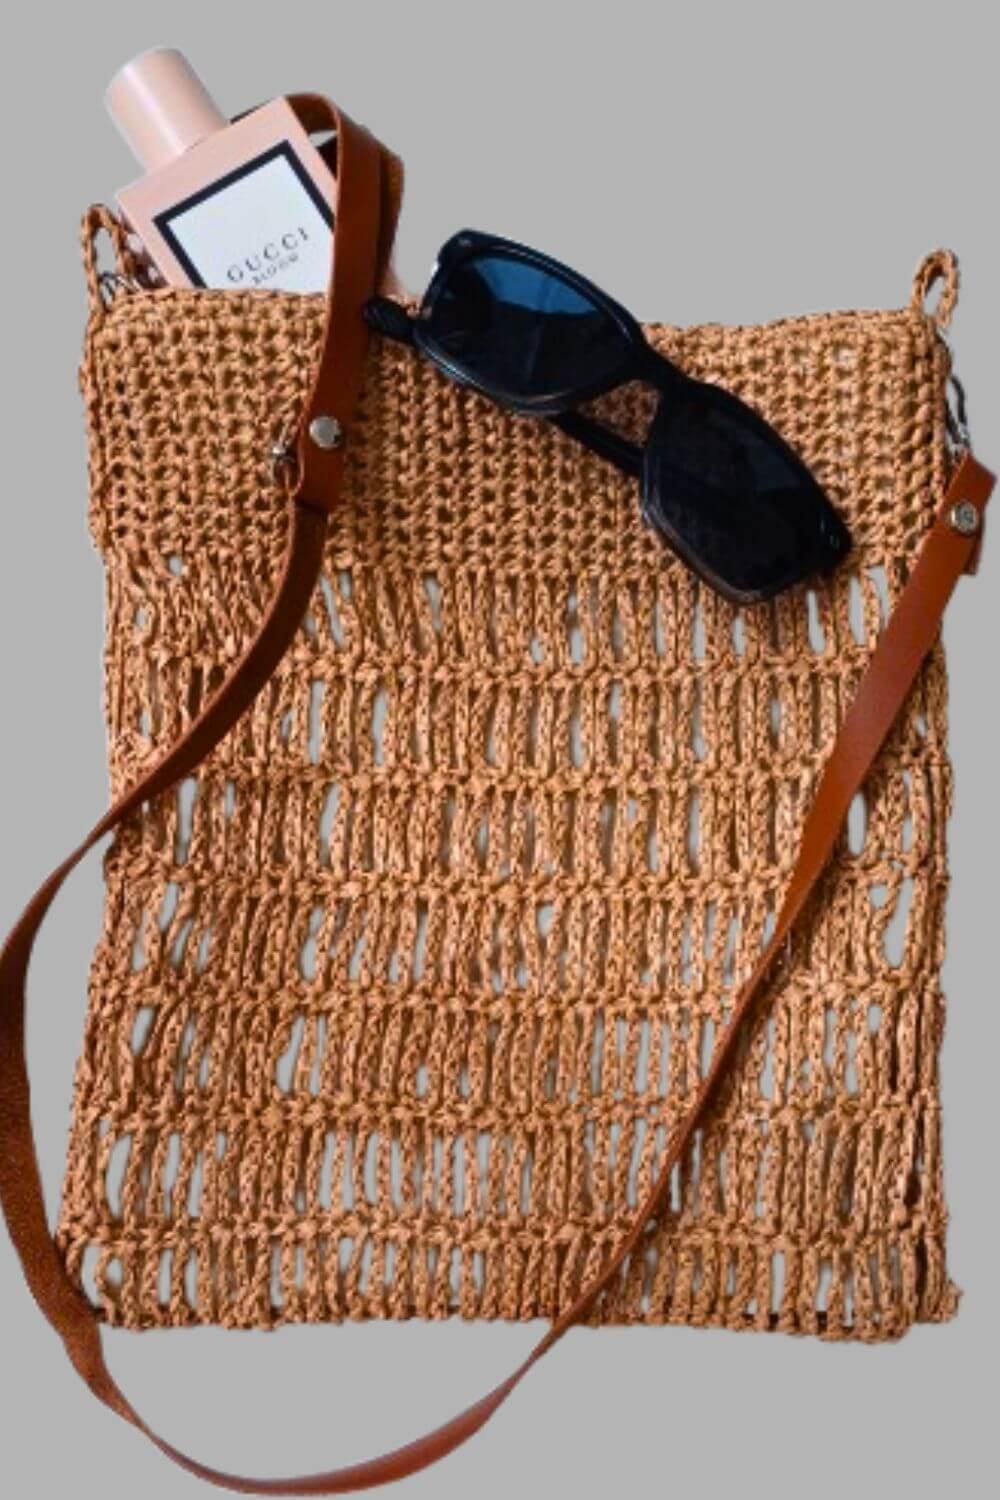
Honestly, I didn’t expect it to turn out this well! The straightforward pattern—chain and single crochet—produced this relaxed, textured bag, which even my husband approved of. If you’re looking for a satisfying, no-fuss project, this tutorial is for you.
Let’s make something you’ll actually want to carry around!
Disclosure. Dear readers, some links on this blog are affiliate links. This means, when you use these links to make a purchase, I may earn a small commission at no extra cost to you.
Materials Needed:
Raffia yarn. Original raffia yarn: (not paper) Milano Raffia (250 m/273 yards 100g / 3.5 per skein). I used about 70 gr. Substitute – ISPIE or Ra Ra Raffia.
5.0 mm (US H/8) crochet hook
2 metal rings, lining, according color sewing thread.
Tapestry and sewing needle
Scissors
Abbreviations (US Terms):
ch – chain
sc – single crochet
sl st – slip stitch
rep – repeat
Finished Dimensions (approx.):
Height: ~27 cm, Width ~23 cm
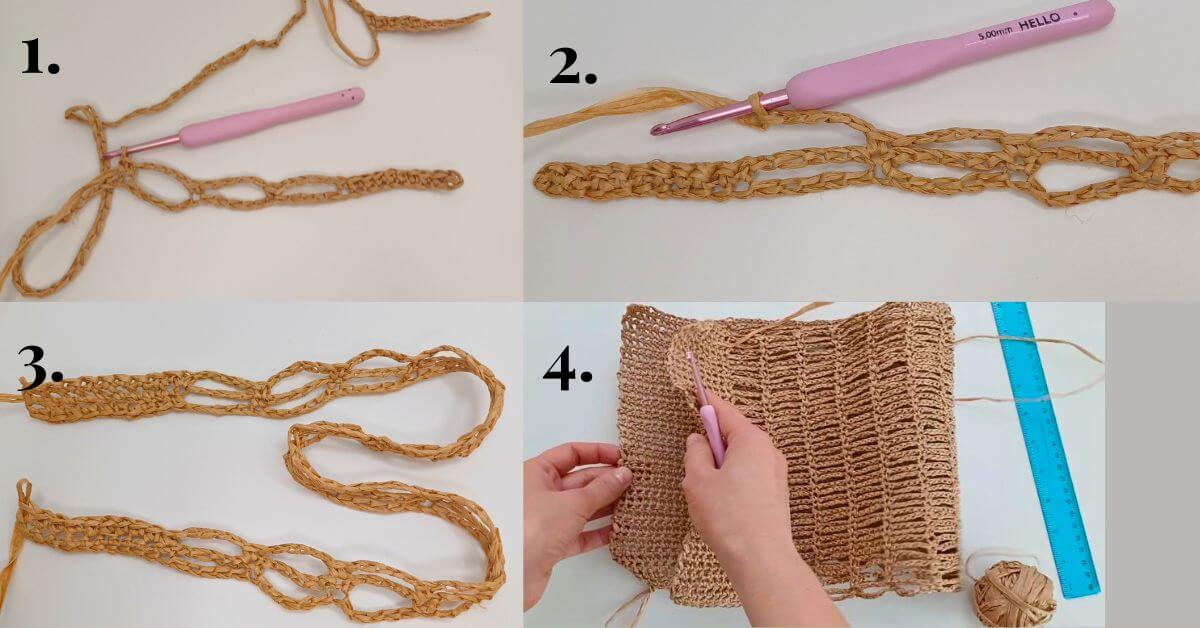
Bag Base
Foundation Chain:
Chain 104.Row 1:
Starting from the 2nd chain from the hook, make 10 sc.
Then:Ch 5, skip 5 ch, sc into the 6th chain.
Repeat this 14 times across.
Finish the row with 10 sc.
Rows 2:
Ch 1, turn.
Work 10 sc, then ch 5, sc into previous row’s sc, and again 10 sc to end the row.
Continue repeating this row structure until the base is about 20–23 cm or your desired size.
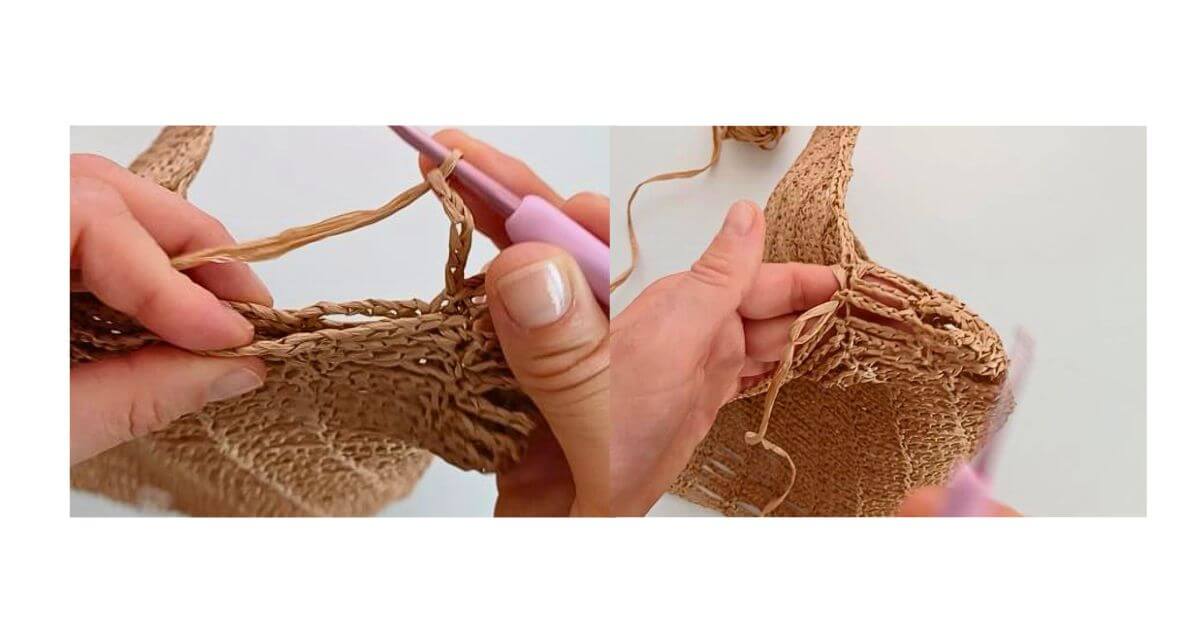
Joining sides
You should have 14 arches — an even number — so it folds nicely).
Without cutting yarn, crochet along the top edge using sc to create a clean edge.
Work 1 sc into each row’s side across the top.
- Turn the corner with an extra sc and crochet down the side of the bag (10 sc crochet).
On one side where you get to the chaining part, work:
Ch 5, sc into previous sc — for 7 arches (half the bag width).
Then fold the bag and continue with:
Ch 5, slip stitch the sides together using only the back loops of both layers.
Continue this until the side is fully joined.
Repeat the same joining process for the other side.
Finishing the Edge
Work a round of single crochet along the bag’s top edge to neaten the look.
Strap Loops
Chain 30 + 1 turning chain.
Row 1:
Starting in 2nd ch from hook, work 30 sc.
Work 2 sc in the last ch, turn the work to the bottom side of the chain.
Row 2:
Work 1 sc into each half chain across, hiding the yarn tail as you go.
Join the final stitch with a sl st into the first sc.
Leave a long tail for sewing.
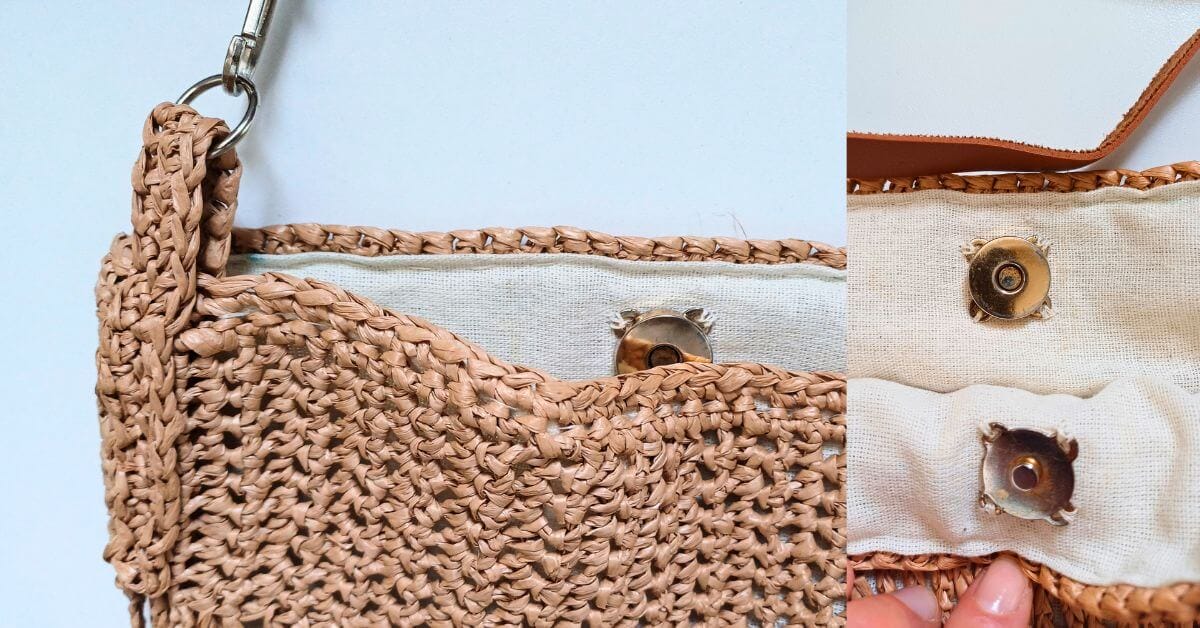
Attach the strap loops to the both sides of the bag
Strap Options:
Use ready-made leather straps (attach via rings).
Or crochet two longer straps and sew them to opposite edges of the bag.
Optional Lining:
The bag can be lined using a simple rectangle of fabric. Attach to the bag with simple backstitch
You can check the other bag lining tutorials.
I am not a professional sewer, my linings are simple. If you know how to sew 2 pieces of fabric, that’s all what’s needed.

Kristina Virka
Knitting and Crochet Enthusiast
From yarn to yes!—stylish makes for everyday magic