Last updated on September 29th, 2025 at 02:56 pm
Japanese Short Rows Knitting
I recently discovered Japanese short rows and immediately fell in love with this knitting short rows technique. It’s one of the best short row techniques I’ve tried because it creates an almost invisible short rows turning point—perfect for yarns with bright colors or clear stitch definition.
While you do need a few extra tools like stitch markers, the precision and neat finish you get with Japanese short rows make it totally worth it.
Before you start, gather your stitch markers—they’re essential for following the instructions. For example, if you’re shaping a shoulder slant and have to turn your work five times, you’ll want five stitch markers. This method keeps your short rows tidy and seamless, making your knitting look professional and polished. You can use also handmade stitch markers from the thicker scrap yarn.
How do Japanese short rows differ from traditional short rows?
1. Technique
- Japanese Short Rows: This method uses a removable stitch marker or safety pin to mark the turning point. After turning the work, place the marker on the working yarn. In subsequent rows, pull up the marked yarn and work it into the stitch to close the gap, creating a neat and almost invisible transition.
- Traditional Methods (e.g., Wrap & Turn): The working yarn wraps the turning stitch to prevent a gap. Later, we pick up the wrap and knit 2 together. This can sometimes leave visible bumps or distortions.
2. Ease of Use
- Japanese Short Rows: Require additional tools (e.g., stitch markers) and may take slightly longer because of marking and pulling up loops.
- Traditional Methods: Simpler and quicker to execute as they don’t require external tools, but may not achieve as neat results.
3. Flexibility
- You can substitute both Japanese and traditional short rows into patterns interchangeably, though wrap & turn may need adjustments.
Here is the comprehensive short rows guide.
Japanese Short Rows Knit Side
I am on the right side of my knitwork, and I need to turn my work. I take stitch marker, turn work, and place it onto working yarn.


In the example, I purled seven stitches, and I need to turn work to the right side again.


Closing the gaps
Closing a gap on the purl side.


Closing the last gap on the right side


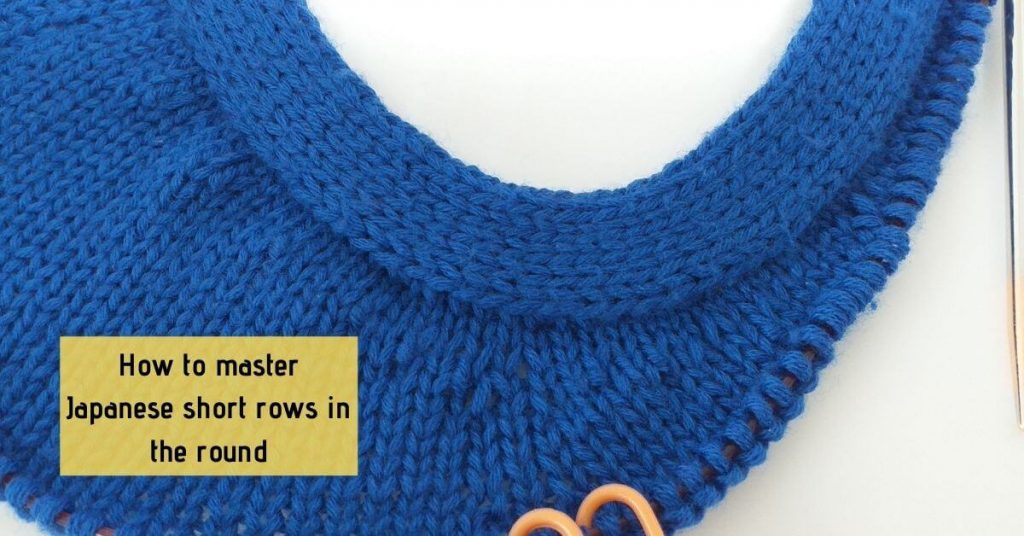
Japanese Short Rows in the Round On YouTube
The Japanese short rows method works on the same principle when knitting in the round, but there’s a little twist you need to be aware of. After you finish all your short row shaping and continue knitting in the round, you might notice an unworked turning point loop that looks awkward or out of place. Don’t worry—I’ll show you exactly how to handle this tricky spot

Dealing with the last unworked stitch when knitting in the round
Let’s assume we have finished short rows knitting, and started regular knitting in the round. You will come across one unworked short row turning point. The marker will appear on the left side. How to close the gap? Since it is on the opposite side, we need to do the same thing, but in reverse order.
Don’t knit the last stitch before the gap. Slip it as to knit instead. We pull the marker and get the loop on the left-hand needle with the right leg onto the back of the needle. Place slipped stitch on the left-hand needle. K2TOG TBL – knit two together through the back loop.


The loop will be quite tight, therefore, uncomfortable to knit two together through the back loop (K2TOG TBL).
Also, I noticed, that stitch will be more visible (more stretched) than the other stitches. But, overall, I find it very neat.
Japanese Short Rows in Ribbing
Knitting Japanese short rows in ribbing, whether 1×1 or 2×2, is simpler than it seems. This technique ensures that the turning points are almost invisible, making it perfect for projects with ribbing patterns. While I demonstrate this method on a swatch with 1×1 ribbing, the same principles apply to 2×2 ribbing.
When working short rows in ribbing, you’ll learn how to switch seamlessly between knit and purl stitches, ensuring the pattern stays intact.
For detailed instructions, you can check out my video tutorial on Japanese Short Rows in Ribbing here. It covers everything from placing stitch markers to closing gaps with knit and purl stitches.
More short row techniques:
- Wrap and turn;
- German short rows;
- Yarn Over (YO);
- Shadow wrap (aka twin stitch);
Some of these techniques are easier to execute, while others can be a bit fiddly—but they all serve the same purpose: closing the gap created by short rows in knitting.
When choosing a method, consider your yarn type and the look you want to achieve. For fibers like cotton, bamboo, viscose, or silk, where stitch definition is clear, you’ll want a turning point that’s almost invisible. In these cases, German or Japanese short rows are excellent choices. On the other hand, fluffy fibers like wool naturally hide minor imperfections and unevenness, giving you more flexibility with the technique you choose.