Last updated on December 27th, 2025 at 11:13 am
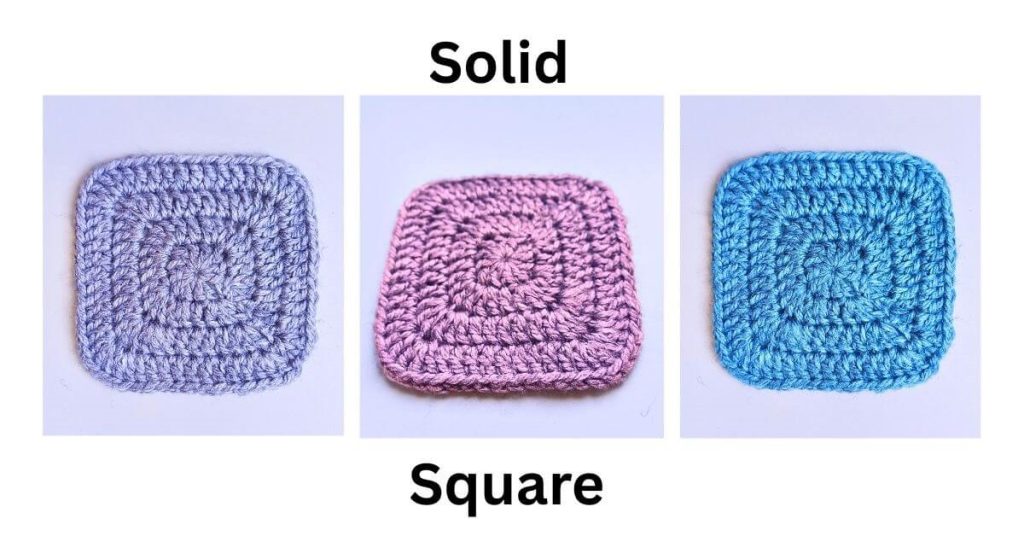
Welcome to the tutorial for crocheting the Super Solid Granny Square! This pattern is for anyone who loves the dense texture of a Solid Double Crochet Square but hates the messy, visible seams.
This technique gives a polished look by using two simple crochet hacks: the Standing Double Crochet (chainless) start and a special Linked Double Crochet finish. If you’ve been struggling with gaps or holes when joining your rounds, you’ve found the solution—this is a guaranteed no-gap method!
Grab your hook and your yarn, and let’s master the art of the seamless square together.
Before You Begin
Skill Level: Advanced Beginner / Intermediate
Gauge: Varies based on yarn and hook. Gauge is not essential unless making an item to size.
Materials Needed
Yarn: any weight yarn you prefer (the video uses a worsted weight yarn, but any yarn suitable for crochet will work).
Hook: Crochet hook appropriate for your chosen yarn weight (check your yarn label for recommended size).
Stitch Markers (4): Essential for marking the corner increase placement.
Tapestry Needle: For weaving in ends.
Scissors
Solid Double Crochet Square Pattern
Abbreviations (US Terms):
MR = Magic Ring
st(s) = Stitch(es)
sl st = Slip Stitch
ch = Chain
dc = Double Crochet
LDC = Linked Double Crochet
Short video instructions:
Round 1:
SDC in the MR.
Work 10 dc in MR. (Total 11 sts).
Work LDC Join in the last st (12th st).
Sl st into the top of the beginning SC to join. (12 sts)
Round 2:
SDC in the same st as join.
Work 2 dc in the same st (first half-corner made: 3 sts total).
Dc in the next st (1st side).
Work 3 dc in the next st, 3 dc in the next st (corner made). [Here and further: place a stitch marker between the 3rd and 4th of these 6 corner sts.]
Dc in the next st (2nd side).
Work 3 dc in the next st, 3 dc in the next st (corner).
Dc in the next st (3rd side).
Work 3 dc in the next st, 3 dc in the next st (corner).
Dc in the next st (4th side).
Work 2 dc in the next st.
Work LDC Join in the last st.
Sl st into the top of the beginning SC to join. (28 sts).
It looks more like a circle for now. Square shape will develop soon.
Round 3:
SDC in the same st as join.
Work 2 dc in the same st (first half-corner made: 3 sts total).
Dc in the next 5 sts (1st side).
Work 3 dc in the st before the marker, 3 dc in the st after the marker (corner).
Dc in the next 5 sts (2nd side).
Work 3 dc in the next st, 3 dc in the next st (corner).
Dc in the next 5 sts (3rd side).
Work 3 dc in the next st, 3 dc in the next st (corner ).
Dc in the next 5 sts (4th side).
Work 2 dc in the next st.
Work LDC Join in the last st.
Sl st into the top of the beginning SC to join. (44 sts)
Round 4:
SDC in the same st as join.
Work 2 dc in the same st (first half-corner made: 3 sts total).
Dc in the next 9 sts (side).
Work 3 dc in the st before the marker, 3 dc in the st after the marker (corner made).
Dc in the next 9 sts (side).
Work 3 dc in the next st, 3 dc in the next st (corner made).
Dc in the next 9 sts (side).
Work 3 dc in the next st, 3 dc in the next st (corner made).
Dc in the next 9 sts (side).
Work 2 dc in the next st.
Work LDC Join in the last st.
Sl st into the top of the beginning SC to join. (60 sts)
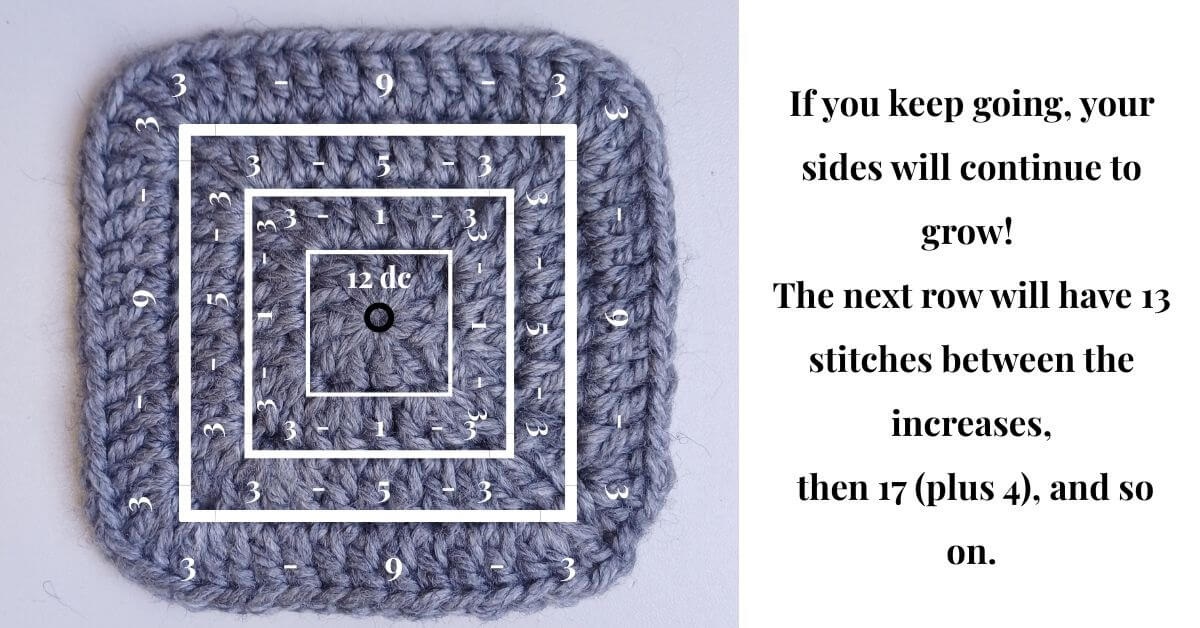
Continuing Rounds:
Each side increases by 4 sts per round.
Continue working increases in the last and first stitch of the corner clusters from the previous round.
Solid granny square without gaps Youtube Tutorial
Conclusion & Next Steps
Congratulations! You’ve mastered the Super Solid Granny Square and learned the essential Linked Double Crochet trick for a truly seamless, No-Gap join.
Keep the Creativity Flowing!
Ready for your next project? Use this solid square to crochet easy slippers socks!
Check out other related tutorials for more inspiration: